Welcome. You’re about to learn a clear, practical way to improve audio in your living space. This short guide shows how speaker choice, placement, and simple tweaks can lift dialogue, music, and effects without costly gear.
We define balanced sound as even coverage across the room, natural music tonality, and clear voices without boom or harsh highs. You’ll get a stepwise map that covers quick fixes you can try today and small projects for weekend upgrades.
The guide also previews calibration basics: matching volume levels, aligning distances, and managing bass so every seat sounds consistent. Expect tips that work for casual TV watching and dedicated home theater listening.
By the end you’ll know which simple moves and affordable accessories yield the biggest improvements. Small placement changes often produce the largest gains in overall sound quality and listening experience.
Why balanced sound matters for comfortable living and better room acoustics
Good acoustic care makes listening easier and more enjoyable. Proper dynamic range keeps quiet details audible while handling loud peaks without distortion. That preserves clarity for dialogue and music and reduces fatigue during long sessions.
Matching speaker levels keeps the image steady between left right channels. A well-centered voice channel helps you follow speech without raising the volume. When the center, surrounds, and the right speaker match, effects feel enveloping and consistent.
Modest room adjustments also improve audio quality. Reducing hard reflections and controlling bass hotspots expands the sweet spot so multiple seats hear similarly. In a home theater setup, aiming for reference level capability recreates cinematic intent while protecting hearing.
| Benefit | What it fixes | Quick fix | Expected impact |
|---|---|---|---|
| Clear dialogue | Muddy midrange | Raise center level, adjust toe-in | Better intelligibility, less volume hopping |
| Smooth dynamics | Harsh peaks, clipped highs | Lower peak gain, use room treatments | Less listening fatigue, fuller detail |
| Even coverage | Bassy spots in multiple rooms | Move speakers, add bass traps | Reduced boom, polite late‑night listening |
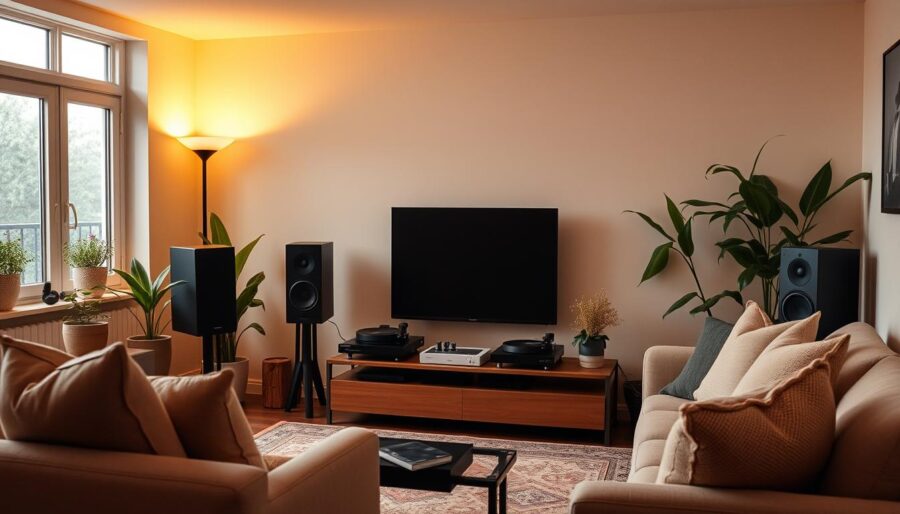
How to achieve sound balance at home
The quickest wins come from choosing the right speaker layout for your room size and primary uses.
Begin by naming your goals: TV, movies, or music. Pick a setup that fits the room: a 5.1 system adds a subwoofer for low effects while 7.1 adds rear channels for more depth.
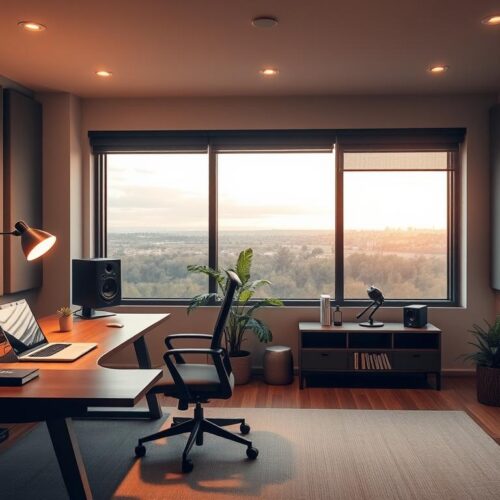
Establish a reference listening position centered horizontally with tweeters near ear height. Place front speakers so they form an equilateral triangle with your seat and toe them slightly inward to tighten the left right image.

- Run your receiver’s auto‑calibration or use a meter app to match speaker levels from the main listening position.
- Set subwoofer crossover and level; slightly higher sub level can add fullness without masking dialogue.
- Tame reflections first—rugs, curtains, and panels improve room acoustics faster than extra gear.
- Measure in multiple seating spots if your receiver offers room correction to improve the whole listening area.
| Choice | Best for | Quick result |
|---|---|---|
| 5.1 | Most living rooms | Good bass and clear fronts |
| 7.1 | Larger rooms with rear space | Deeper rear effects |
| Stereo + sub | Music-focused spaces | Tighter imaging, stronger low end |
Iterate in small steps: change one variable, listen, and note the difference. That process makes your audio experience better and protects your hearing.
Speaker setup, placement, and calibration for balanced sound
Start by planning speaker positions around your main seat so each channel reaches your ears evenly.
Place the center speaker near ear height when possible. Put the right speaker and left front the same distance from your listening position and toe them in 22–30 degrees.
Set surrounds slightly above ear level for a natural envelopment. In a 7.1 theater, add rear surrounds behind the seat for extra depth.
Keep tweeter sightlines clear and avoid blocking speakers with furniture. In rectangular rooms, center the couch on the short wall and give the subwoofer some space from tight corners to reduce boom.
- Run the receiver’s auto‑setup mic at the primary listening position; take multiple measurements if available.
- Verify levels with a meter or test tones so each speaker reads the same at your seat, then trim by ear.
- Set speaker distances in the receiver to align arrival times and tighten imaging across the stereo field.
| Setup | Includes | Quick tip |
|---|---|---|
| 5.1 | Center, L/R fronts, two surrounds, subwoofer | Use auto calibration and set sub a bit higher for impact |
| 7.1 | Add two rear channels | Place rears behind listeners for more immersion |
| Stereo + sub | Left/right and subwoofer | Fine‑tune crossover near main speaker roll‑off |
Use room correction to smooth broad issues, but keep the natural character of your speakers. Recheck levels after any furniture moves to maintain consistent listening quality.
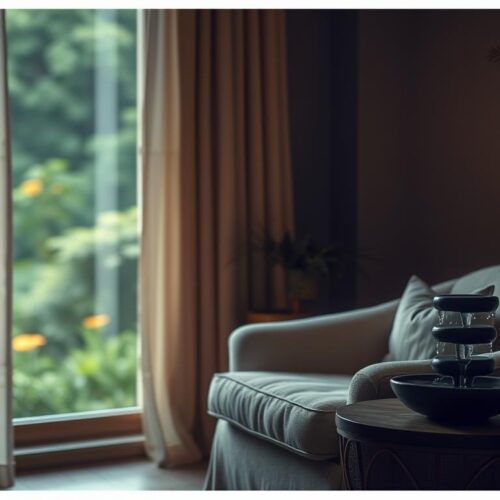
Room acoustics that affect sound: practical fixes you can do today
Hard floors and bare walls often cause distracting echoes that steal clarity from dialogue and music. Those reflections cloud midrange detail and make bass uneven.

Start with soft materials. A thick rug between your speakers and seating cuts early reflections and steadies imaging.
Hang dense curtains over glass to tame slap echo. Place acoustic panels at first‑reflection points on side walls to reduce comb filtering.
- Use bass traps in front corners to smooth low‑frequency build‑up and improve integration with mains.
- Break up wide bare walls with bookshelves or diffusers to scatter energy and prevent harsh echoes.
- Move the subwoofer a few feet and re‑measure; small shifts often yield large bass improvements.
- If your receivers offer room correction, run it from multiple seats and then fine‑tune by ear.
| Issue | Quick fix | Expected result |
|---|---|---|
| Early reflections | Rug + panels | Clearer midrange, tighter image |
| Slap echo from glass | Dense curtains | Smoother highs, less glare |
| Bass peaks | Bass traps, sub moves | Even low end, less boom |
Left/right audio balance on your devices: Android, Windows, and Bluetooth
Quick checks on your phone or PC can fix uneven left and right output in minutes.
On Android 10, open Settings → Accessibility → Audio and On‑Screen Text, then adjust the Audio balance slider to center output between your ears or earbuds.
- Use the device slider when one ear or the right speaker sounds louder due to placement or hearing differences.
- In Windows 10, some Bluetooth earbuds show linked channels labeled “1” and “2,” which means the driver may not expose separate L/R controls.
- If Windows locks the sliders, try the manufacturer’s app, update drivers, or use a USB Bluetooth dongle that supports independent stereo.
- When using an AV receiver, set channel trims in the receiver first and confirm your PC output is in true stereo.
- Test adjustments with a left‑to‑right panning track to verify the image centers at your listening position.
| Platform | Quick fix | When to use |
|---|---|---|
| Android 10 | Accessibility → Audio balance | Phone or tablet earbuds |
| Windows 10 | Check Balance dialog, drivers, or vendor app | Bluetooth or USB headsets |
| AV receiver | Adjust channel trims on receiver | Speakers in a theater or stereo system |
Conclusion
Finish by testing a few reliable scenes that reveal how your system performs.
Calibrate speaker levels with a meter or your receiver’s mic, and check reference level capability if you aim for theater realism. Use gentle room treatment—panels, diffusers, and bass traps—where measurements show problems.
Let room correction help, but fine‑tune by ear for clear dialogue, natural effects, and a cohesive stage. Measure at more than one seat to keep the experience consistent across the room.
Keep a short listening checklist: a talky scene, a bass‑rich track, and a left‑to‑right pan. Make one improvement per weekend, confirm gains, and enjoy better sound quality in your home theater and everyday listening.